
King of Blood Build Guide: Demon's Altar Sacrifice
A King of Blood build for 9 Kings 1.0: Demon's Altar, Pagoda, Cemetery, and the sacrifice loop that turns a disposable board into permanent scaling.
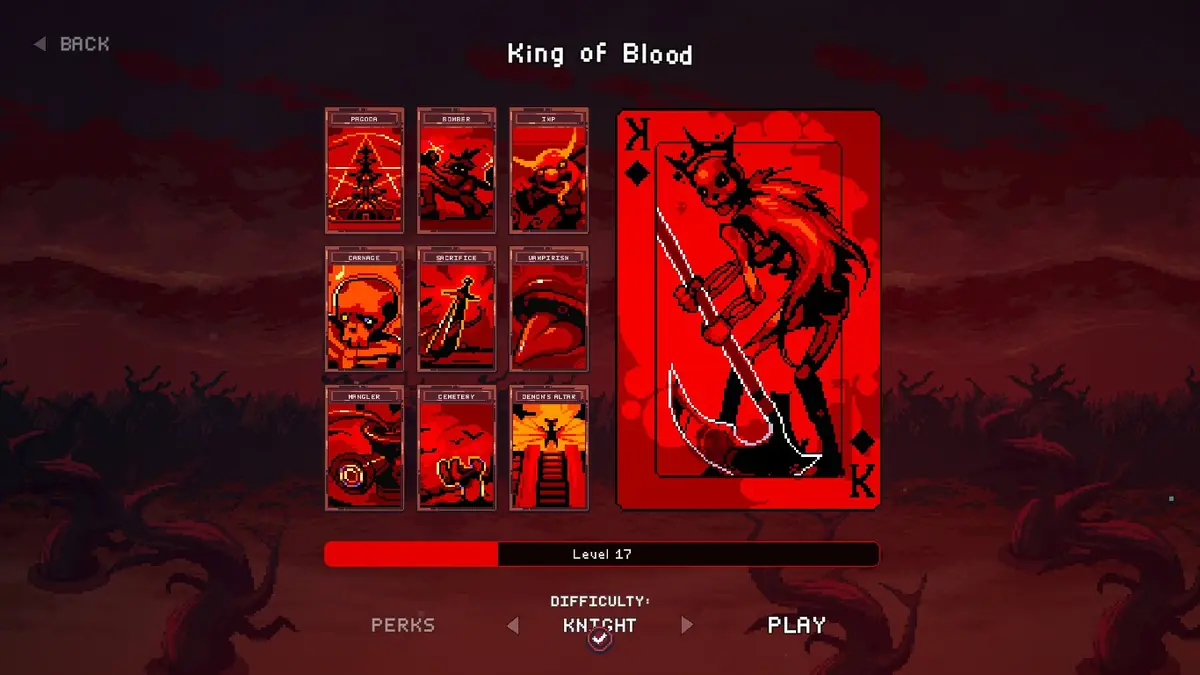
Quick answer: The King of Blood build feeds Demon's Altar with disposable imps. Pagoda and Cemetery produce the bodies, Carnage turns deaths into damage, and Mangler converts sacrifices into a carry. It is the best wide-board build in 9 Kings.
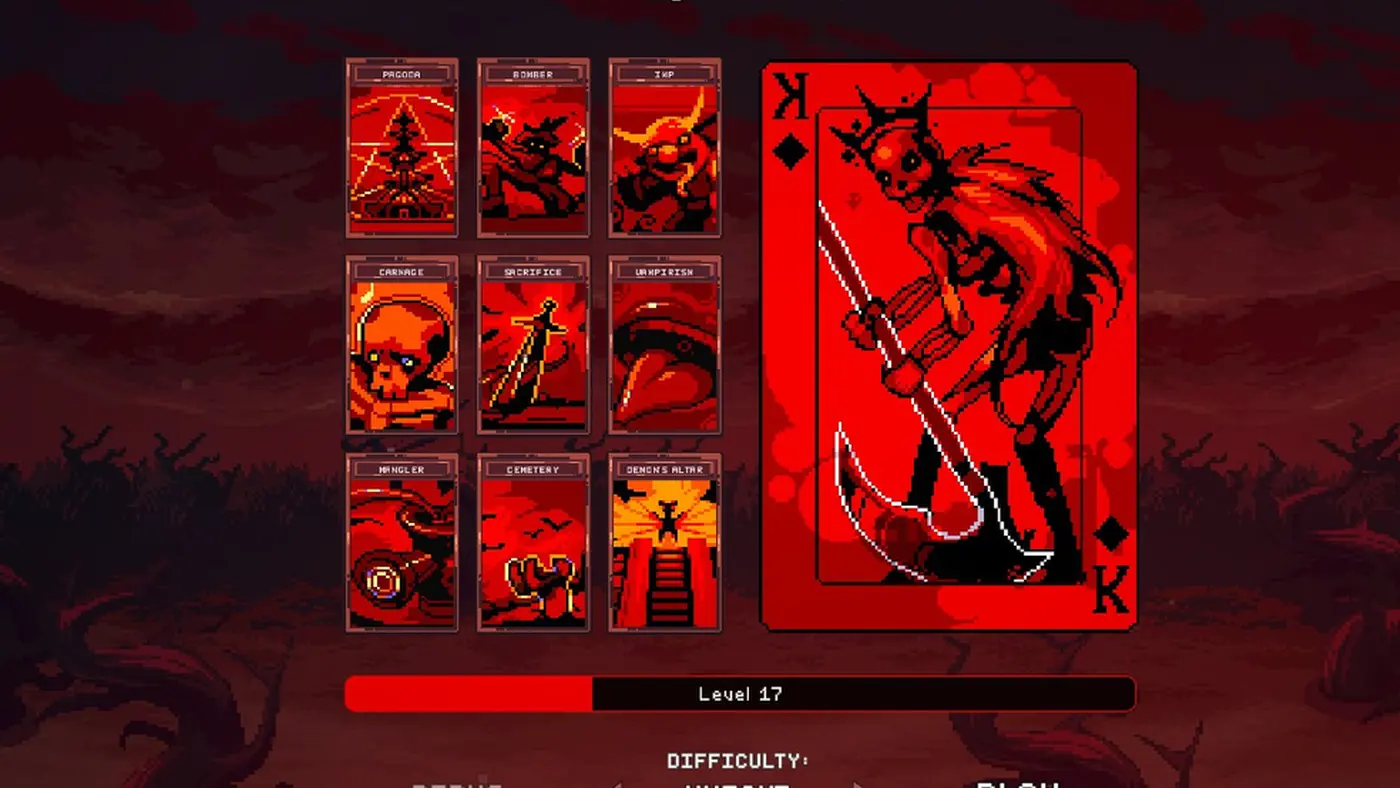
Blood is the sacrifice king. Its cards want units to die, and its payoff is a board that gets stronger every time something is lost. That makes it the opposite of Knight Haven: where Nothing protects one carry, Blood spends bodies.
This guide covers the Demon's Altar build, the sacrifice loop, and the positioning that keeps the engine running.
The deck
Blood's nine cards:
- Pagoda (base): summons imps.
- Imp (troop): disposable body.
- Bomber (troop): area damage on death.
- Mangler (troop): sacrifices adjacent units for permanent damage.
- Carnage (building): 10% of a dying unit's HP explodes.
- Sacrifice (building): destroys a plot to upgrade an adjacent one.
- Cemetery (building): summons an imp when an adjacent unit dies.
- Demon's Altar (building): summons a demon at each level and gains permanent damage when allies die.
- Vampirism (enchantment): heals on damage.
The deck has three summoners, two death payoffs, and one carry. It is the most synergistic deck in the game.
The sacrifice engine
The core loop:
- Pagoda summons imps every year.
- Cemetery summons more imps when adjacent units die.
- Demon's Altar gains permanent damage for every ally that dies.
- Carnage turns each death into area damage.
The imps are not the win condition. They are fuel. Every imp that dies makes the altar stronger and triggers Carnage. A long fight favors you because the altar keeps scaling.
The carry is Mangler. It sacrifices adjacent units for permanent damage, which means it turns the same fuel into a single-unit threat.
Opening priorities
Years 1–3: take Pagoda if it appears. If not, take Cemetery or Imp. You need a body source before you need a payoff.
Year 4: take Sharp Blades or Feast. Blood's units are fragile; Feast keeps them alive long enough to die productively.
Years 5–7: place Cemetery next to your carry. Place Demon's Altar behind the front line. Do not put the altar in the enemy's path.
Years 8–11: save gold. Blood wants to buy a second summoner at year 12.
Year 12: buy Demon's Altar if you do not have it. If you do, buy Carnage or a second Cemetery.
The full board
By year 20:
- Base plot: Pagoda.
- Carry plot: Mangler with Vampirism.
- Support plots: Cemetery and Demon's Altar.
- Front line: Imps and Bombers.
- Kill zone: Carnage explosions.
- Open plot: a second Cemetery or a defensive card.
Keep the altar behind the front line. It has no combat value and must survive to scale.
Decrees
The best decrees for Blood:
- War Horns: summons +50%. The best Blood decree.
- Sharp Blades: +30% attack. Mangler and the altar both benefit.
- Feast: double max HP. Keeps the engine alive.
- Poison Thorns: enemies gain poison when they attack. Good against swarms.
Avoid Bunker. Towers are not the plan.
Perks
The Blood perks that matter:
- Summoner: +10% summon strength. More imps, more fuel.
- Diabolical: +3 imps from Pagoda. A direct engine upgrade.
- Blighted: +20% HP for Cemetery summons. More survivability.
- Cultist: +10% altar damage. Direct scaling.
- Explosive: +10% Carnage damage.
Universal: Ingenious, Expansionist, Persistent, Nurturer, and Wrathful.
Sacrifice timing
Sacrifice is strongest when the plot you destroy has already done its job. A Farm that fed your early carry, a cheap body that blocked a lane, or a support building you have outgrown are all good targets. Do not sacrifice your only summoner or the plot that keeps the altar alive.
The altar gains permanent damage from every ally that dies, so the ideal sacrifice is a unit that dies in combat after contributing. Use Bomber and Imp to feed it, and keep Mangler adjacent to the fuel, not to the altar.
If the run reaches year 25 and the altar is still small, stop building wide. A compact board with two summoners and one Cemetery produces more deaths per fight than a scattered board, and the altar scales on quality, not plot count.
Against burst damage, put a wall in front of the altar and accept that you will lose the wall every fight. Rebuilding a wall is cheaper than losing the engine.
The Final Battle
Blood is strong against the year-33 boss because the altar scales during the fight. Every imp that dies makes the altar hit harder. The boss has to kill an endless stream of bodies while the altar grows.
The weakness is burst. If the boss kills the altar early, the plan collapses. Protect it with a wall and keep it out of the boss's path.
Common mistakes
Putting the altar on the front line. It dies and the engine is gone.
Enchanting imps. Imps are fuel. Enchant the Mangler or the altar's support.
Building wide without a payoff. A wide board of imps with no altar is just a lot of deaths.
Ignoring Mangler. The altar is the engine, but Mangler is the carry. You need both.
The best units→ page explains why Imp and Bomber are fodder, and the best builds→ page compares Blood with the other engines.
Every unit you sacrifice is a unit not defending your base. Keep one wall between the fight and your base.
FAQ
Is King of Blood good in 9 Kings? Yes. It is one of the strongest wide-board kings and a good counter to swarm strategies.
What is the best Blood build? Demon's Altar: Pagoda, Cemetery, Demon's Altar, Mangler, Carnage.
Should I use Bomber or Imp? Both. Imp is cheap fuel; Bomber is fuel that explodes.
How do I unlock King of Blood? Kill 9,999 enemy units across your runs.
Sources
Official source: 9 Kings Steam store page ↗